Plexiglass Bending Guide: How to Avoid Cracking or Breaking
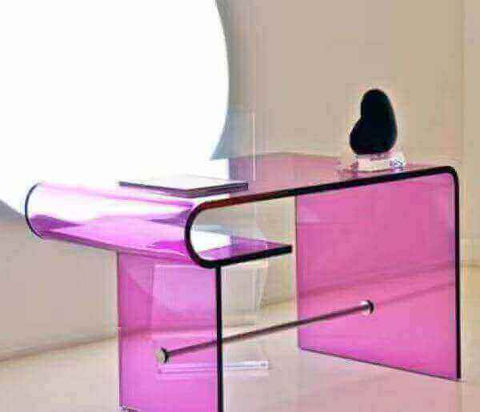
Plexiglass, also known as acrylic glass, is a versatile transparent thermoplastic often used as an alternative to real glass. It can be easily bent and formed into various shapes, making plexiglass sheets popular for custom projects, displays, and more. However, bending plexiglass properly requires care and technique to avoid frustrating cracks, breaks, and failures.
In this comprehensive guide, we’ll explore the most common plexiglass bending mistakes and provide pro tips to successfully form acrylic sheets without issues. You’ll learn essential plexiglass preparation, heating, bending, and troubleshooting steps for flawless results. Let’s get started!
Why Does Plexiglass Crack and Break During Bending?
Before diving into solving plexiglass bending problems, it helps to understand why cracks and breaks happen in the first place. Here are the main causes of bending failures:
Internal Stresses
All plexiglass sheets contain some internal stresses from the manufacturing process. When you apply heat to bend the material, these stresses are amplified and can cause cracking if not relieved properly.
Uneven Heating
Heating the acrylic too quickly or unevenly during bending creates temperature variations within the plastic. This differential expansion rate induces stress, resulting in cracks.
Sharp Bending
Trying to bend plexiglass at too tight of a radius places extreme stress on the outer edges of the material, often leading to cracks and breaks.
Repeated Bending
Bending the same plexiglass piece over and over weakens the molecular structure, increasing the chance of failure with each successive bend.
Imperfections
Pre-existing scratches, nicks, or other flaws in the plexiglass act as stress concentration points, making cracks more likely during bending.
Essential Plexiglass Bending Tips to Prevent Failures
Now that you know what causes plexiglass bending problems, let’s go over some pro tips to avoid them:
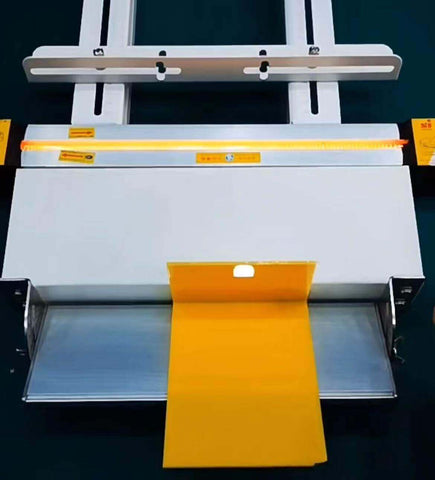
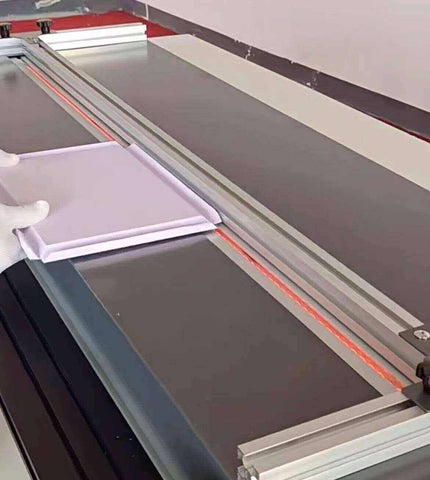
Use Proper Bending Equipment
A plexiglass brake or strip heater allows controlled, even heating essential for stress-free bending. Heating the acrylic directly over a flame can cause hotspots and cracks.
Go Slow and Apply Heat Evenly
Rushing the bending process usually leads to trouble. Heat the entire bend area gradually and evenly to the recommended forming temperature before attempting to shape the material.
Consider Annealing After Bending
Annealing relieves internal stresses and prevents future cracking or crazing. It involves slowly cooling the plexiglass after bending, typically in a temperature-controlled oven.
Limit Repeated Bending
Bend plexiglass pieces only when absolutely necessary. If multiple bends are required, anneal the material after each one to remove introduced stresses before the next bend.
Avoid Sharp Bend Radii
An inside bend radius at least 100 times the plexiglass thickness is recommended to limit stress concentration. For a 0.118” sheet, the minimum bend radius would be 11.8”.
Following these best practices for plexiglass preparation and heating will help avoid failures from the start. Next, let’s look at step-by-step bending techniques.
Step-By-Step Techniques for Bending Plexiglass Without Breaking
Carefully follow these proven acrylic bending steps for smooth, crack-free results:
1. Determine Appropriate Bend Radius
As mentioned above, tight bend radii induce high stress. Measure the sheet thickness and multiply by 100x to find the minimum inside bend radius. For most applications, go larger if possible.
2. Mark Bend Line and Location
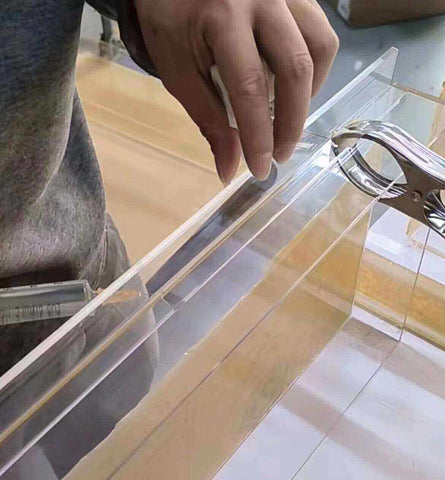
Lightly mark the bend location and line on the plexiglass sheet with a felt tip pen. This is your roadmap for aligning with jigs or clamps during heating.
3. Lubricate the Plexiglass
Applying a light soap or glycerin solution lubricates the sheet and prevents it from sticking during the bend. Don’t use oils that can craze the surface.
4. Clamp the Sheet Properly
Secure the plexiglass in bending jigs or clamps evenly along the marked line. Use extra clamps near the bend area for maximum support.
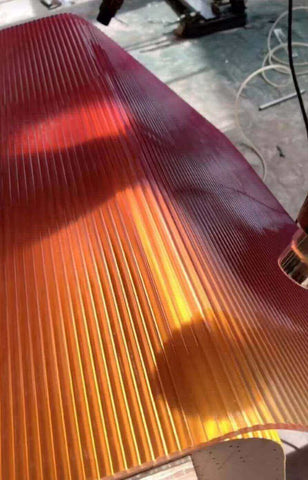
5. Heat the Material Gradually
Following your equipment guidelines, slowly heat the entire bend section to forming temperature to avoid thermal shock.
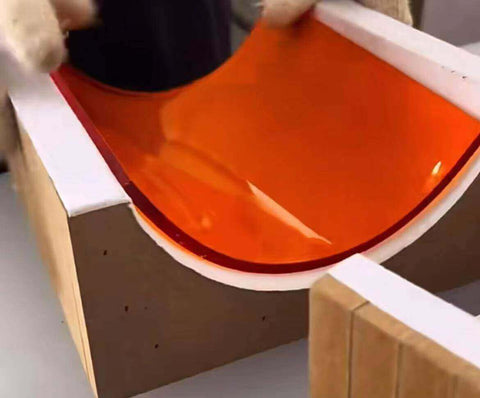
6. Bend the Plexiglass Smoothly
Once heated, carefully bend the plexiglass around your molded shape or jig to the desired angle. Go slow and steady.
7. Cool and Release Properly
Allow the bent acrylic to cool completely before removing clamps to prevent stress cracking. Don’t force pieces apart prematurely.
Get these steps dialed in, and you’ll be bending plexiglass like a pro in no time. But what happens if you still get cracks and breaks? Let’s cover how to troubleshoot these failures.
Troubleshooting Cracks and Breaks During Plastic Forming
Despite your best efforts, plexiglass bending problems still occur. Here are tips for diagnosing and preventing issues:
Identify When the Crack Occurred
Determining if the failure happened during heating or bending helps narrow down the cause. Cracks while heating point to uneven temps or internal stresses. Breaks during bending suggest the radius was too tight.
Check for Material Imperfections
Inspect the plexiglass sheet closely under bright light from all angles to reveal any scratches, nicks, or other defects that can contribute to cracking. Use imperfect sheets only for less demanding jobs.
Ensure Proper Heating Equipment is Used
Heating plexiglass over an open flame or with low-quality strip heaters often creates hot spots that lead to failure. Invest in high-quality bending equipment specifically designed for plastics.
Try Annealing Again After Failure
If a properly heated and bent sheet still cracks, annealing may help. Re-heat the plexiglass to 190-210°F and allow it to cool slowly in the oven to remove residual stresses before attempting any re-bending.
Troubleshooting plexiglass bending problems takes patience, but following these tips will set you on the path to success.
Key Takeaways for Bending Plexiglass Without Breaking
To wrap up, here are the essential things to remember:
- Go slow and heat plexiglass gradually to avoid thermal shock and cracking.
- Use dedicated bending equipment that evenly heats the acrylic sheet.
- Lubricate and securely clamp the plexiglass during bending to limit stress.
- Maintain large bend radii over 100x the material thickness.
- Anneal bent pieces to remove residual stresses and prevent future failure.
- Avoid repeated bending and reject sheets with scratches or defects.
- Identify when cracks occur and probable causes to prevent recurring issues.
Following this plexiglass bending guide will have you forming acrylic sheets into cool shapes without failures or frustrations. Just go slow, use care, and set yourself up for bending success.
For more plastic fabrication tips or project inspiration, check out the rest of our blog! What plexiglass bending questions do you have? Ask in the comments below!
Comments
Post a Comment